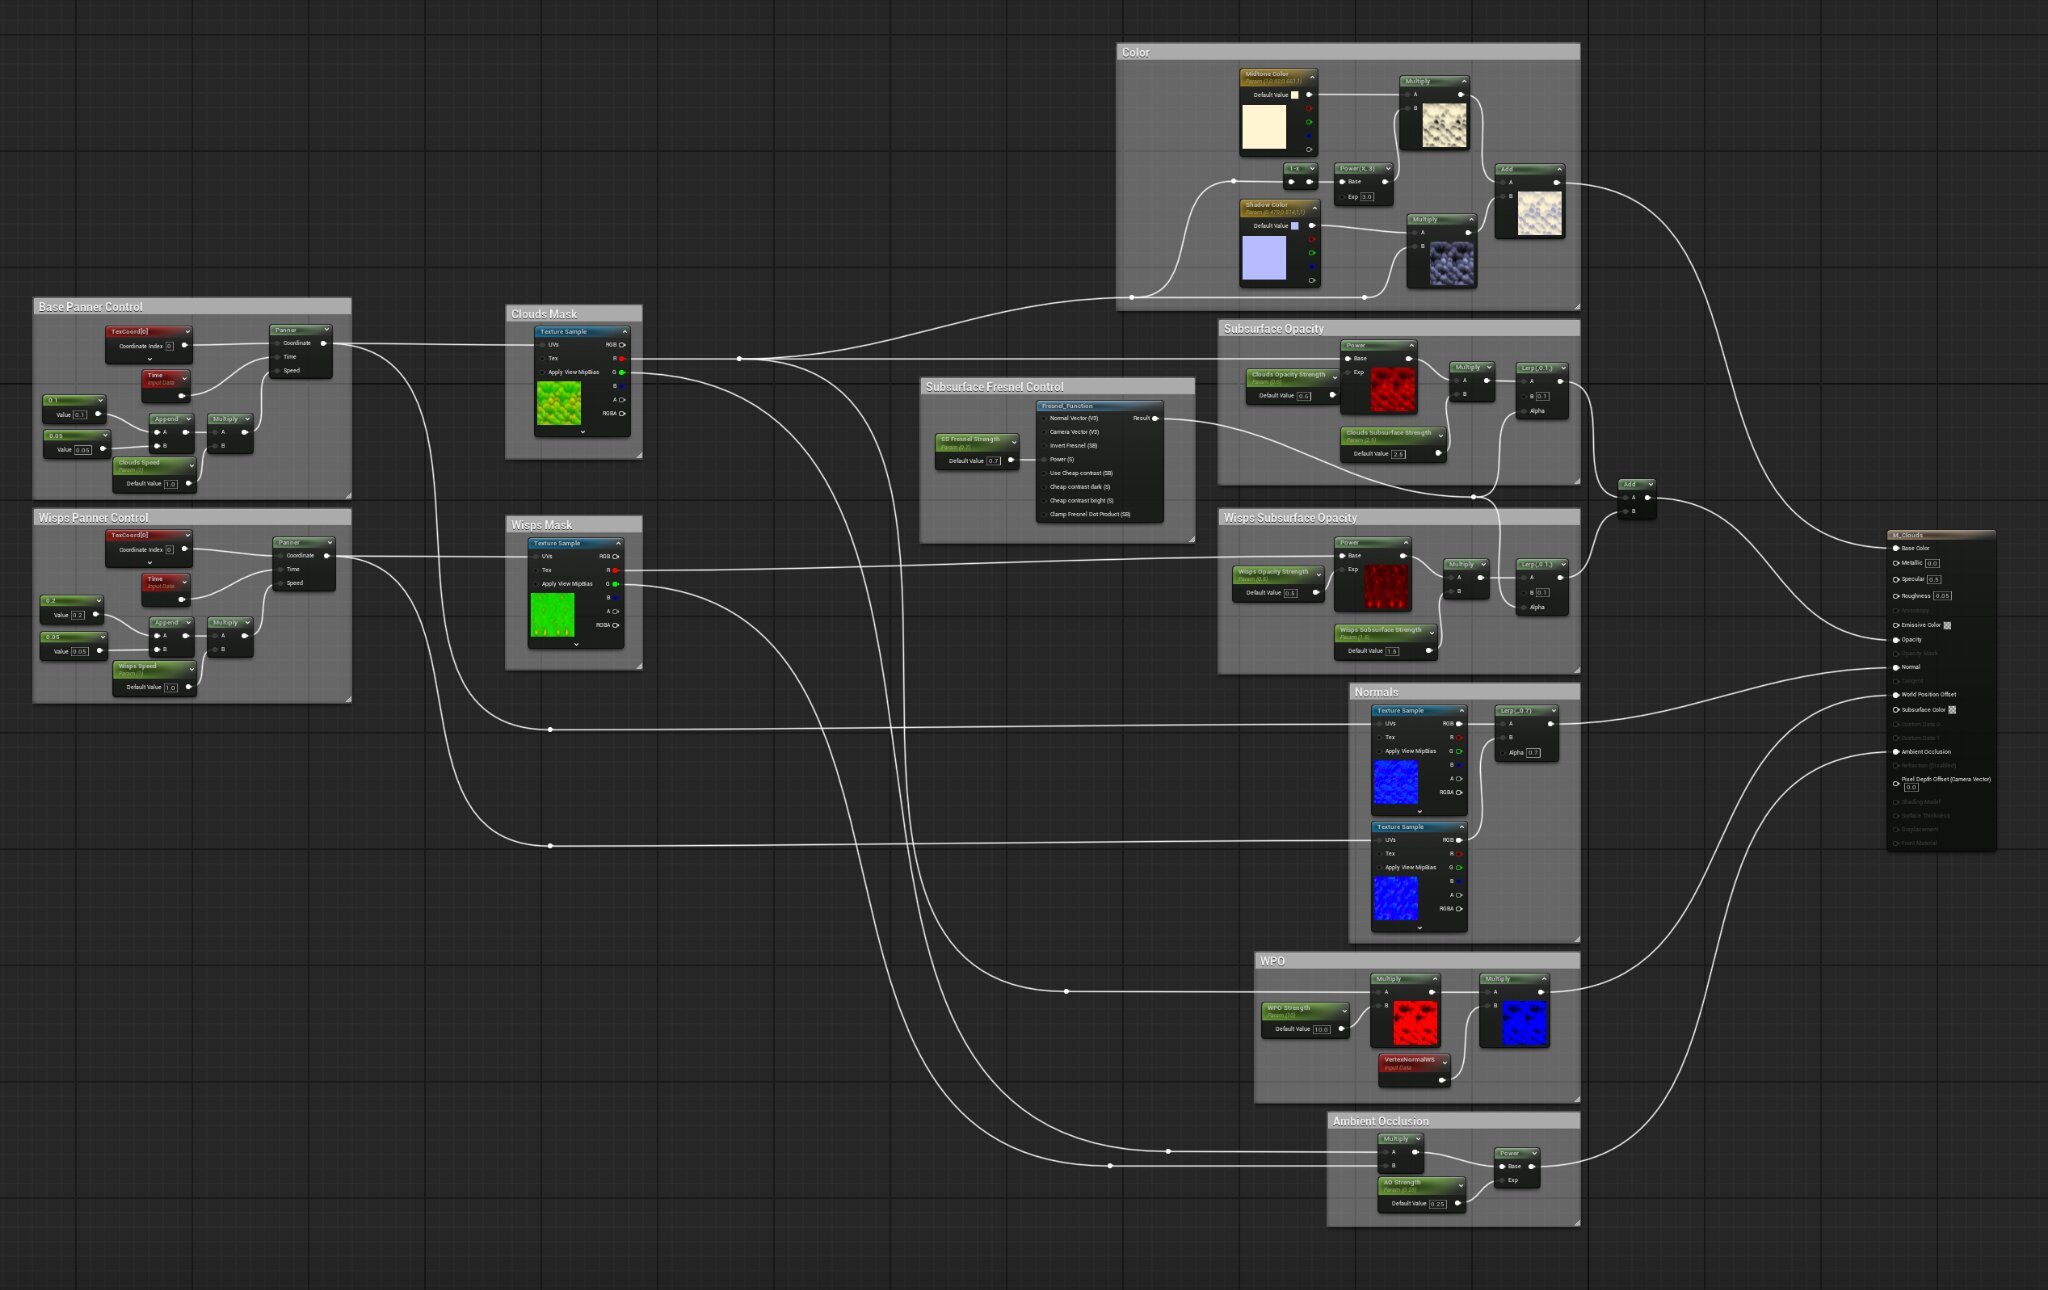
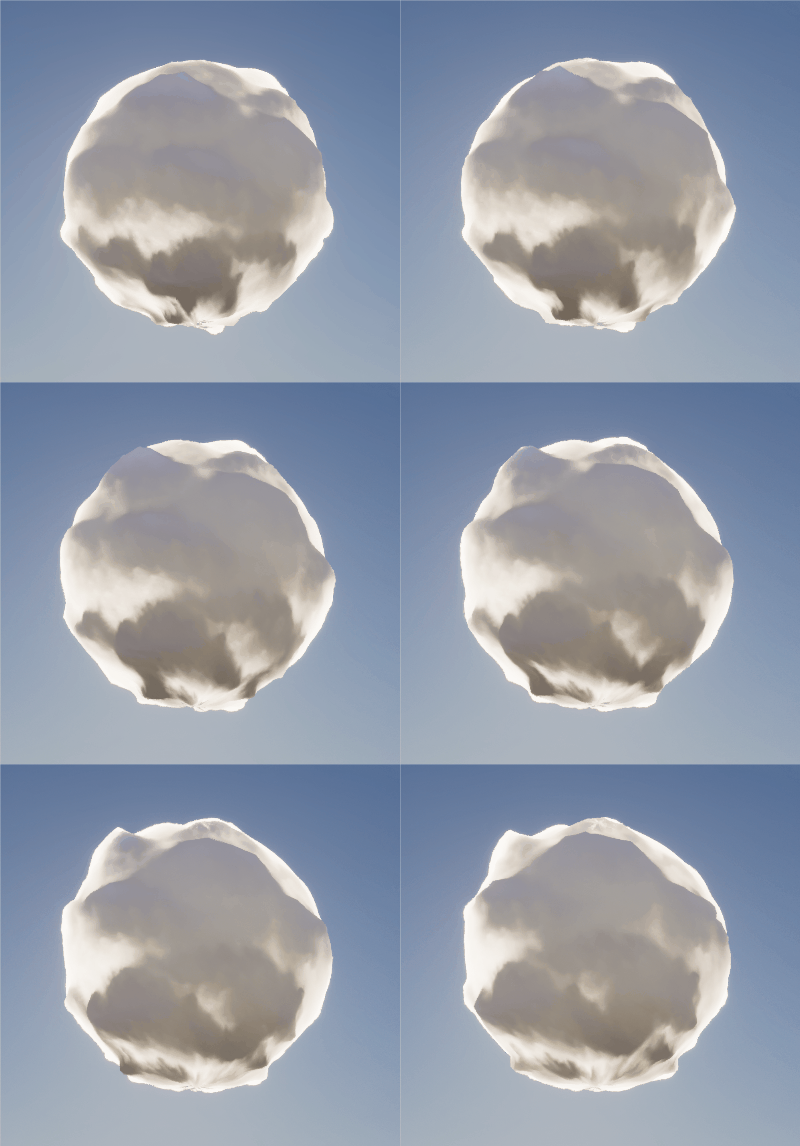
Cloud Shader
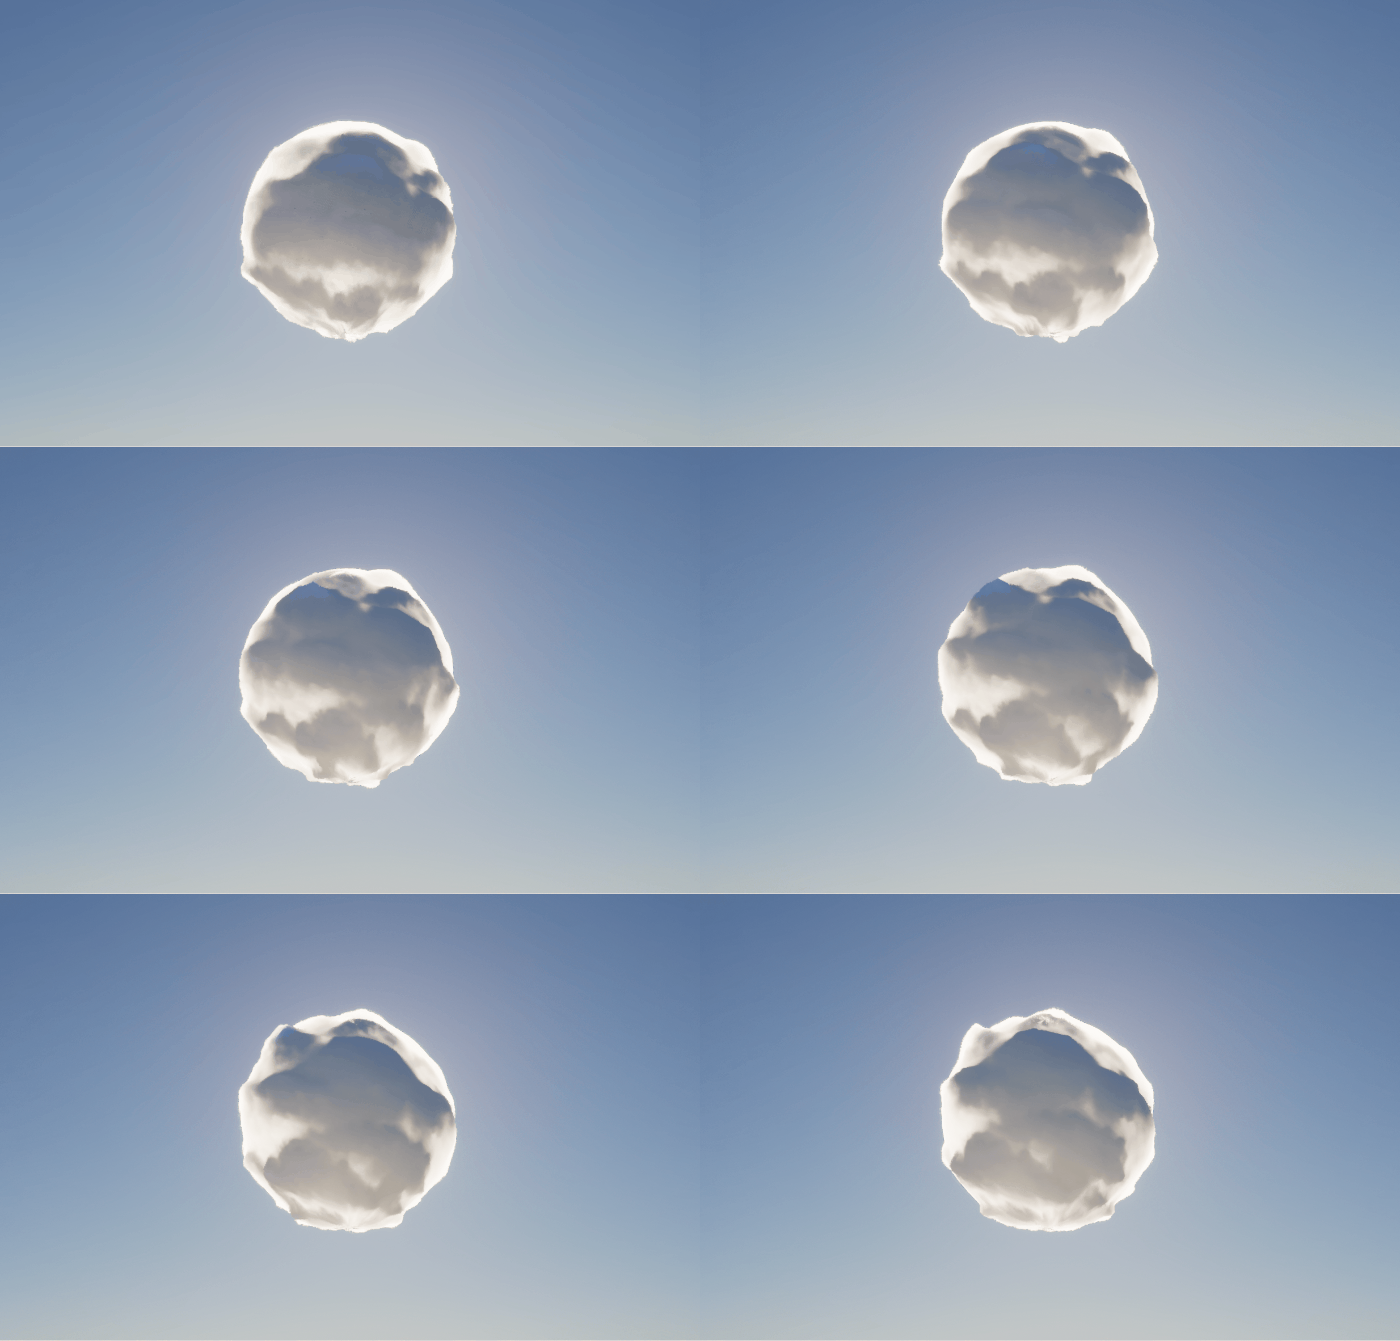
Features
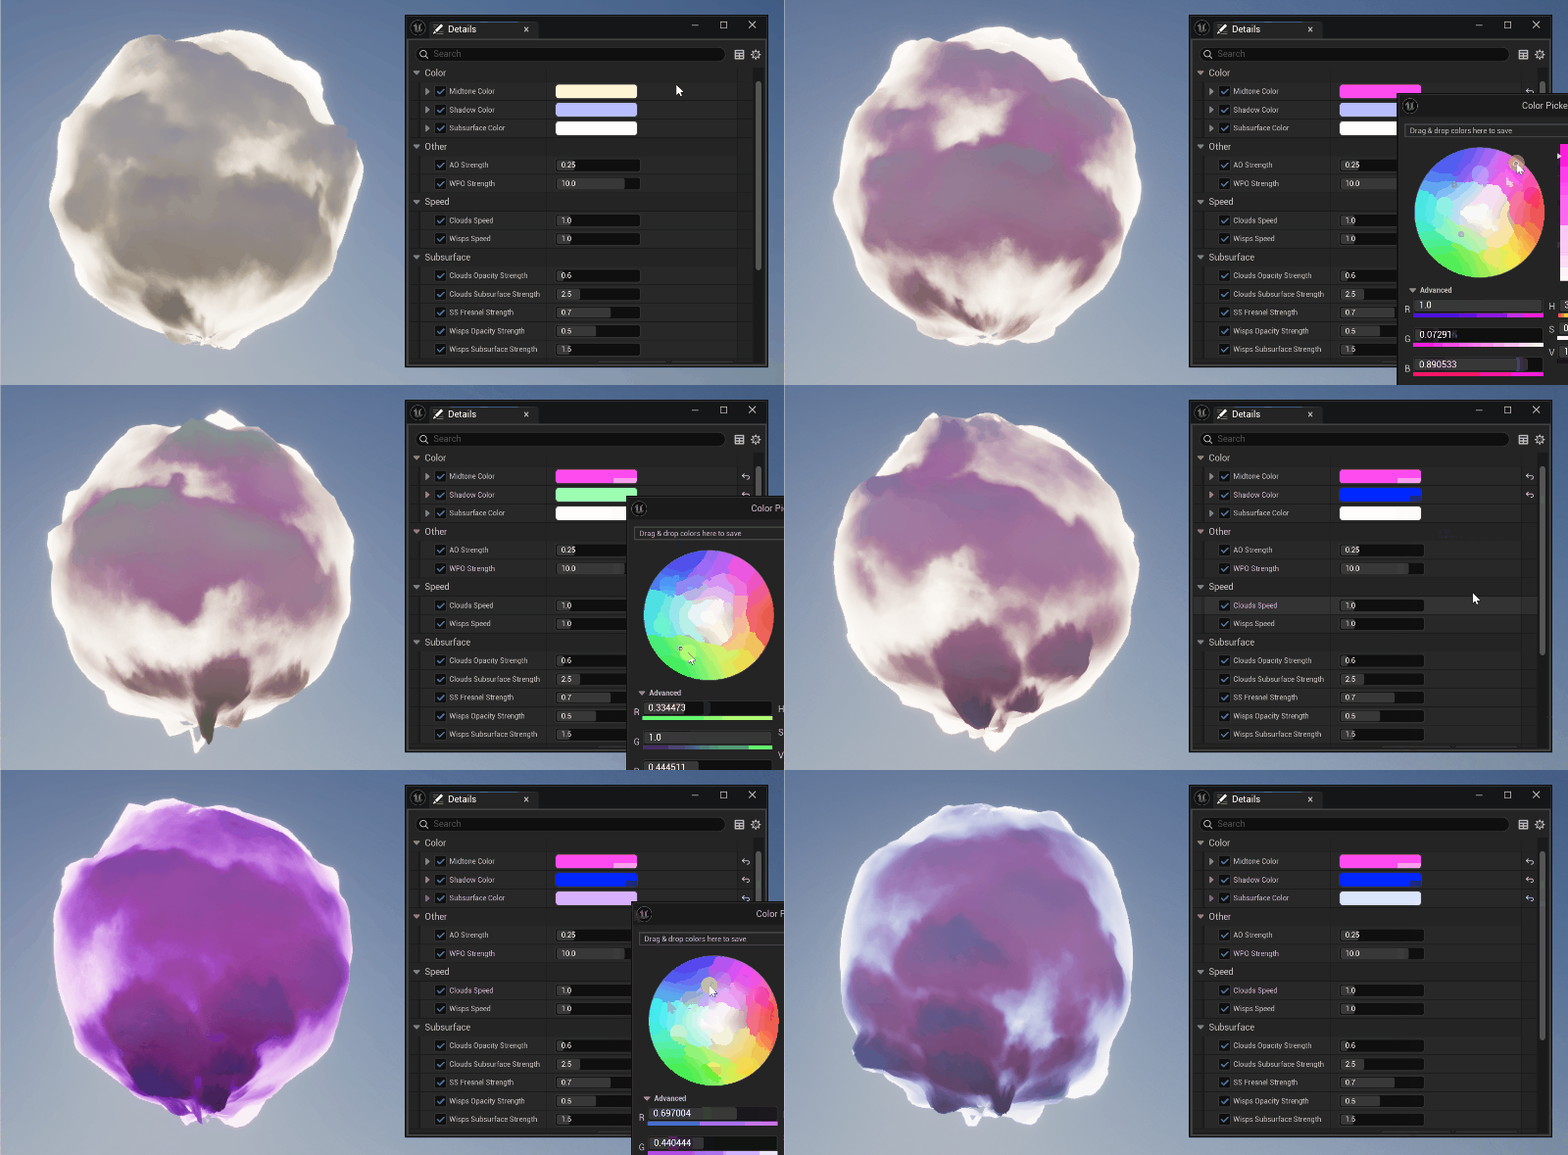
Custom Colors
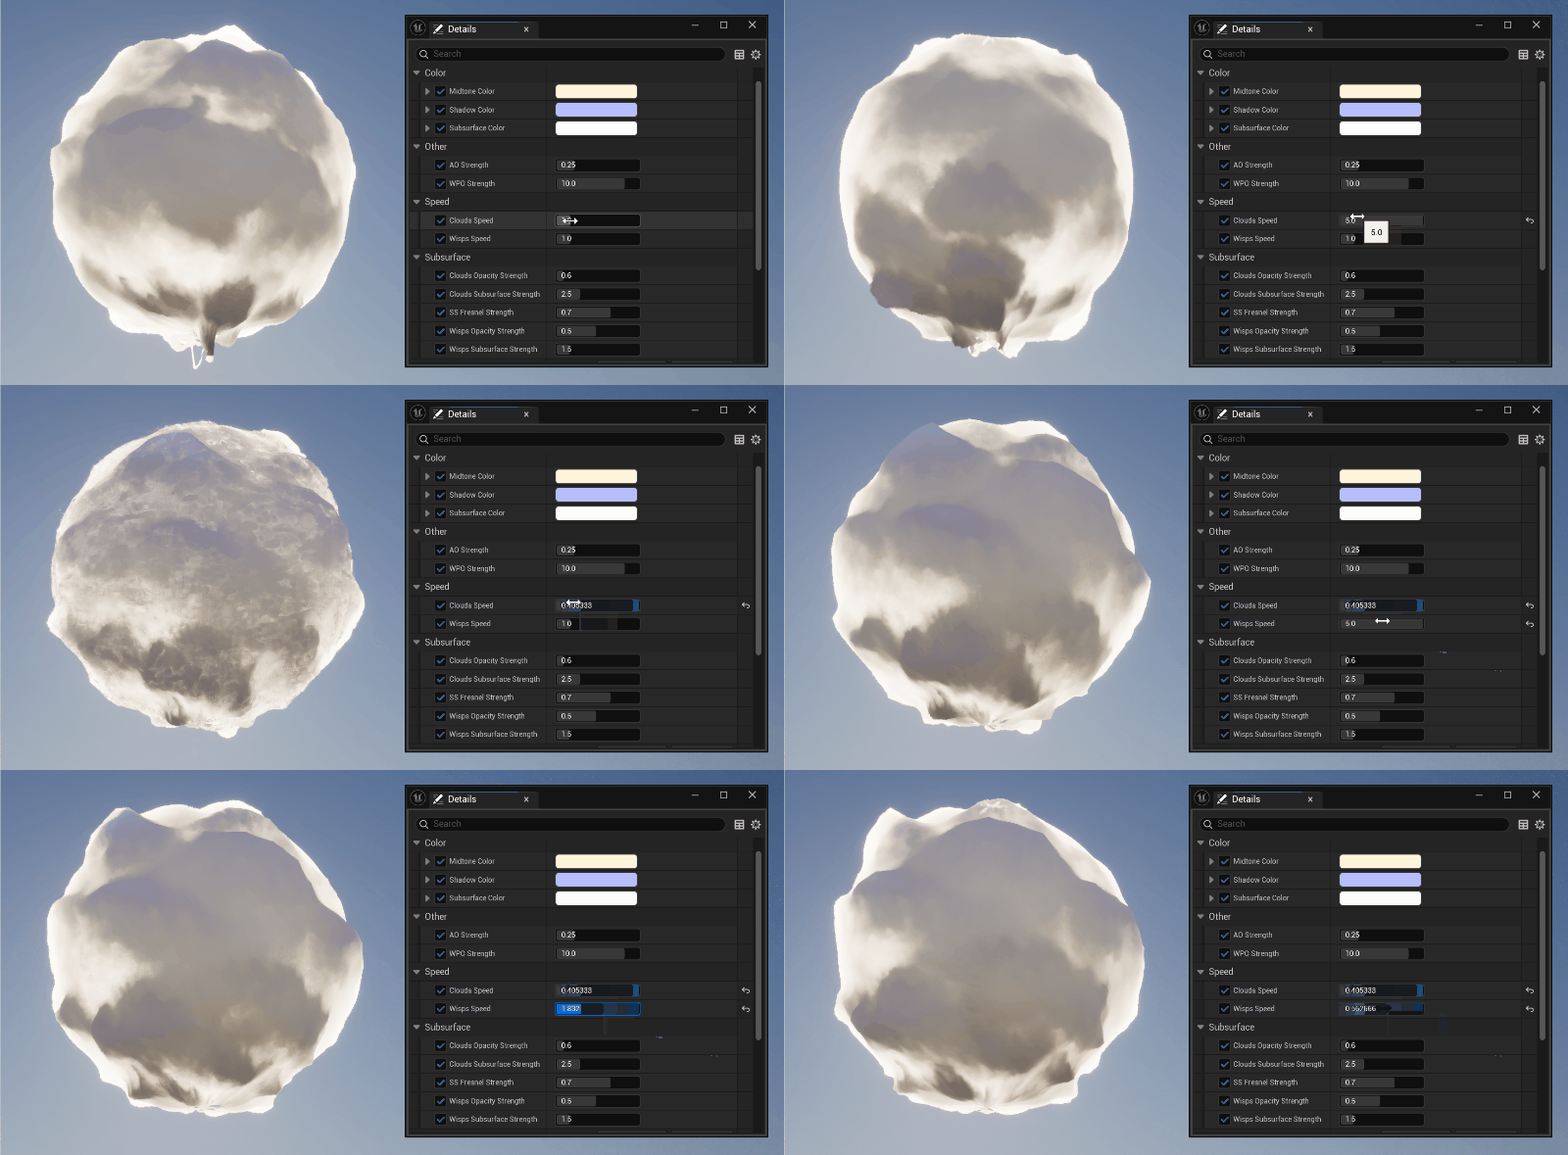
Animation Speed
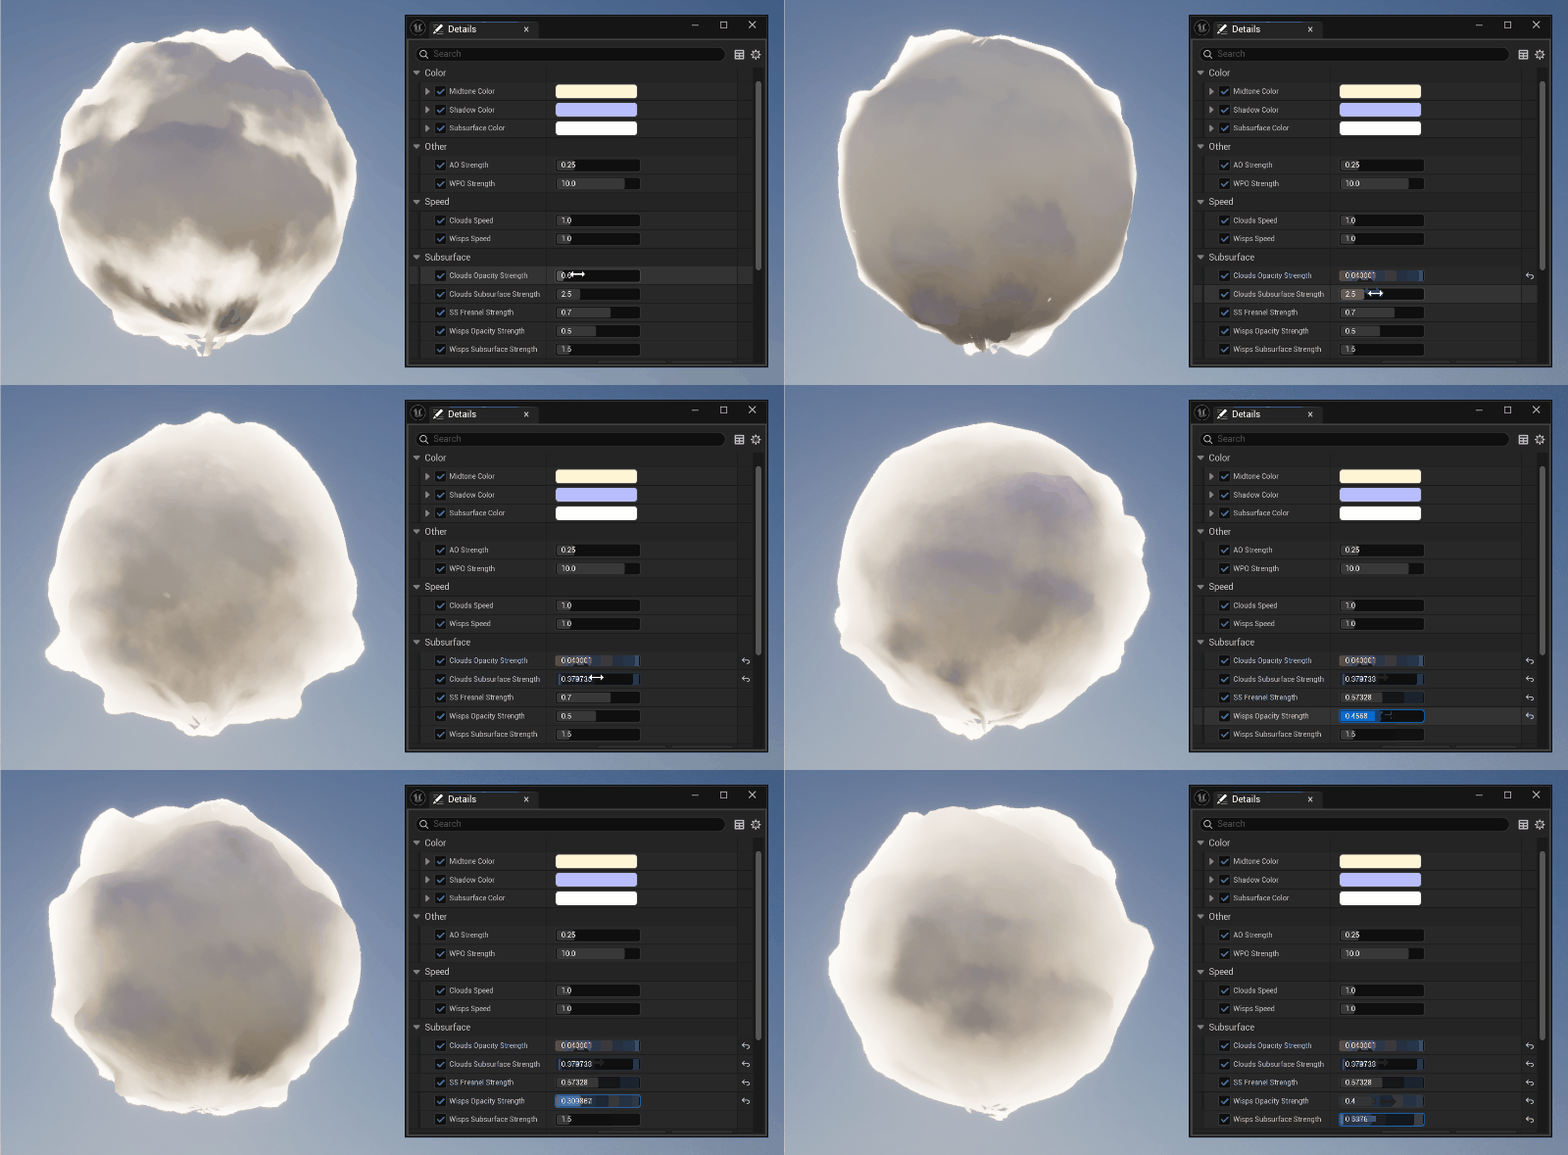
Subsurface Opacity Strength
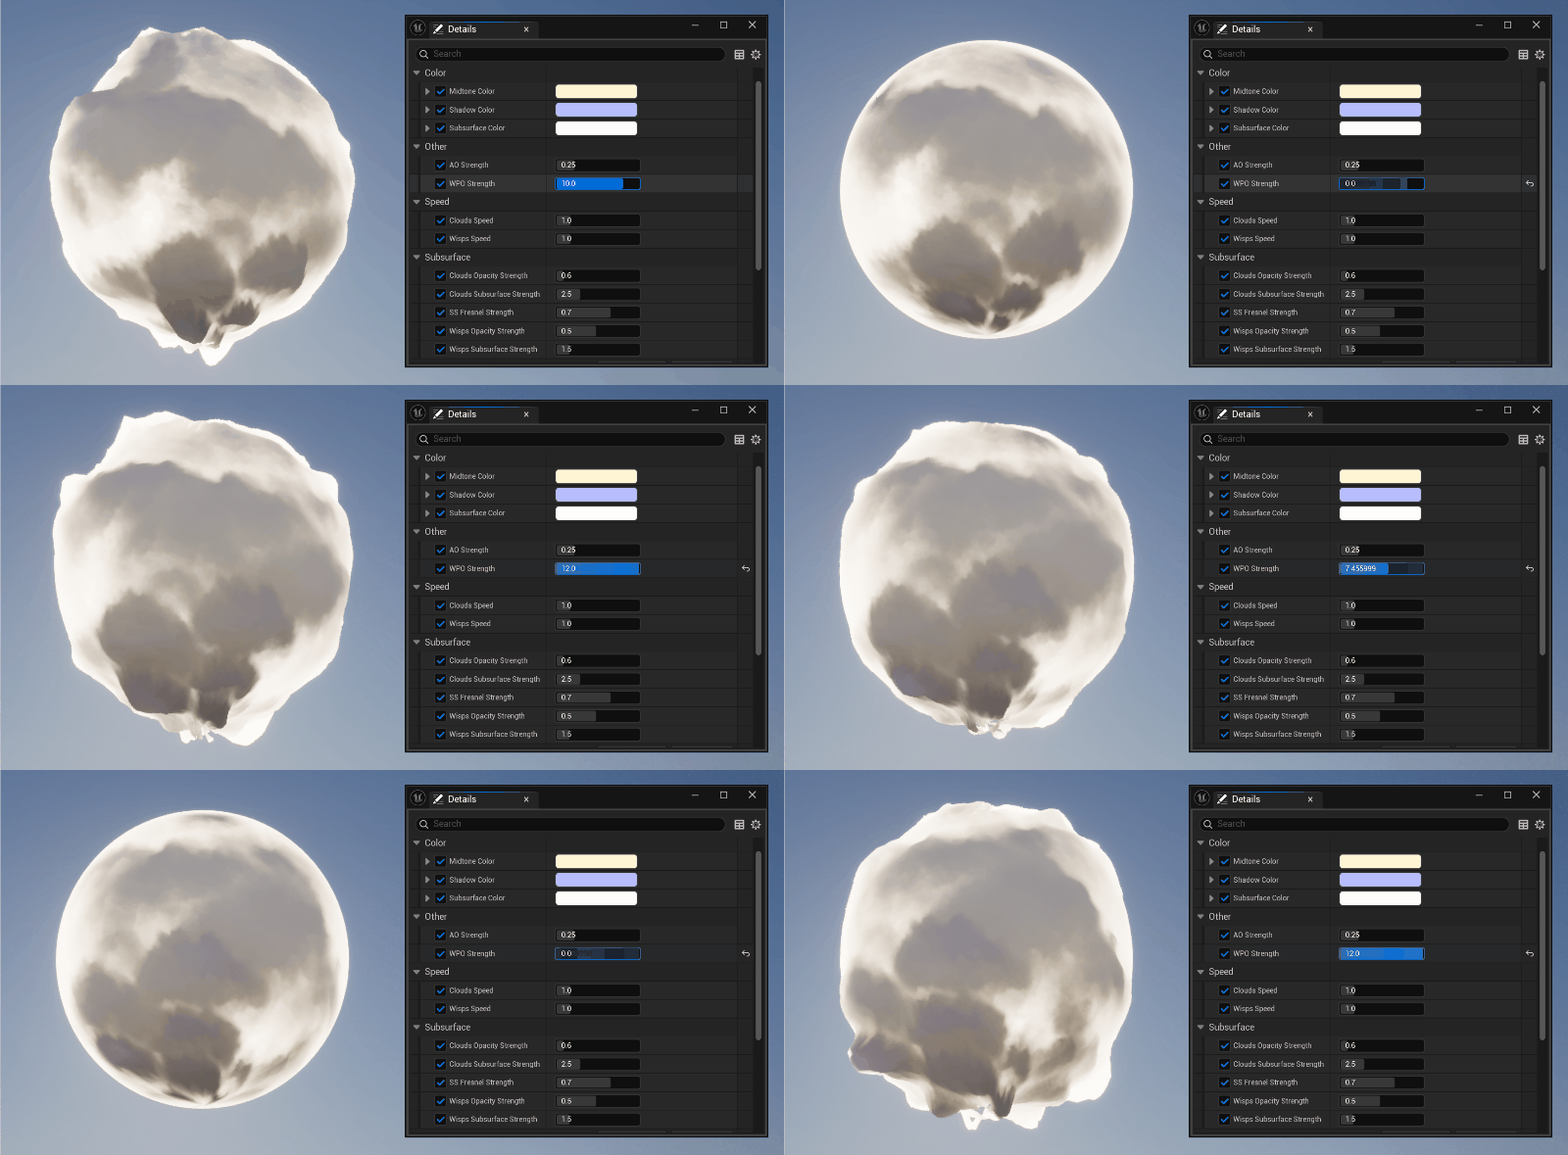
World Position Offset Strength
Creating the Textures
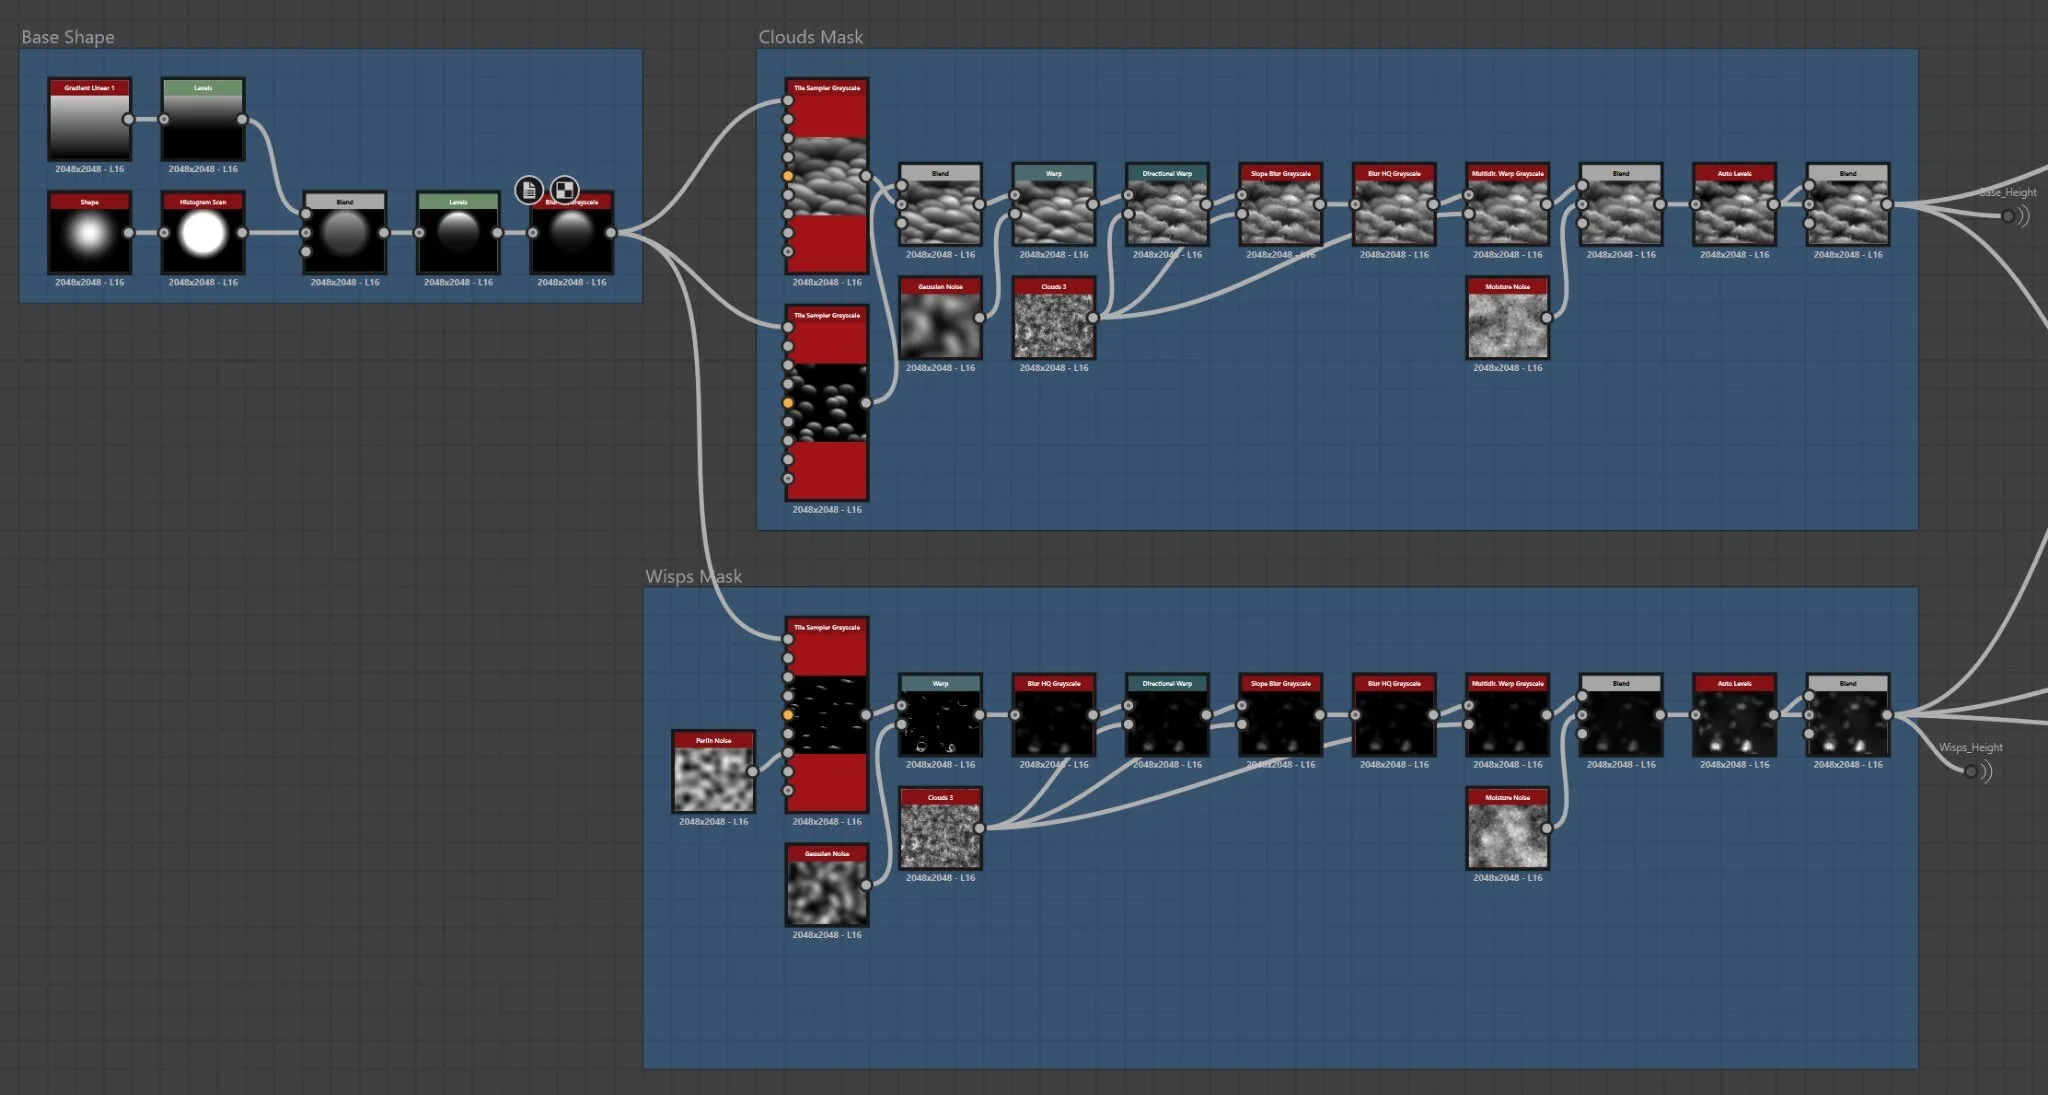
I started by creating the textures in Substance Designer. I made a height map for the base clouds texture, and a mask for the smaller wisps.
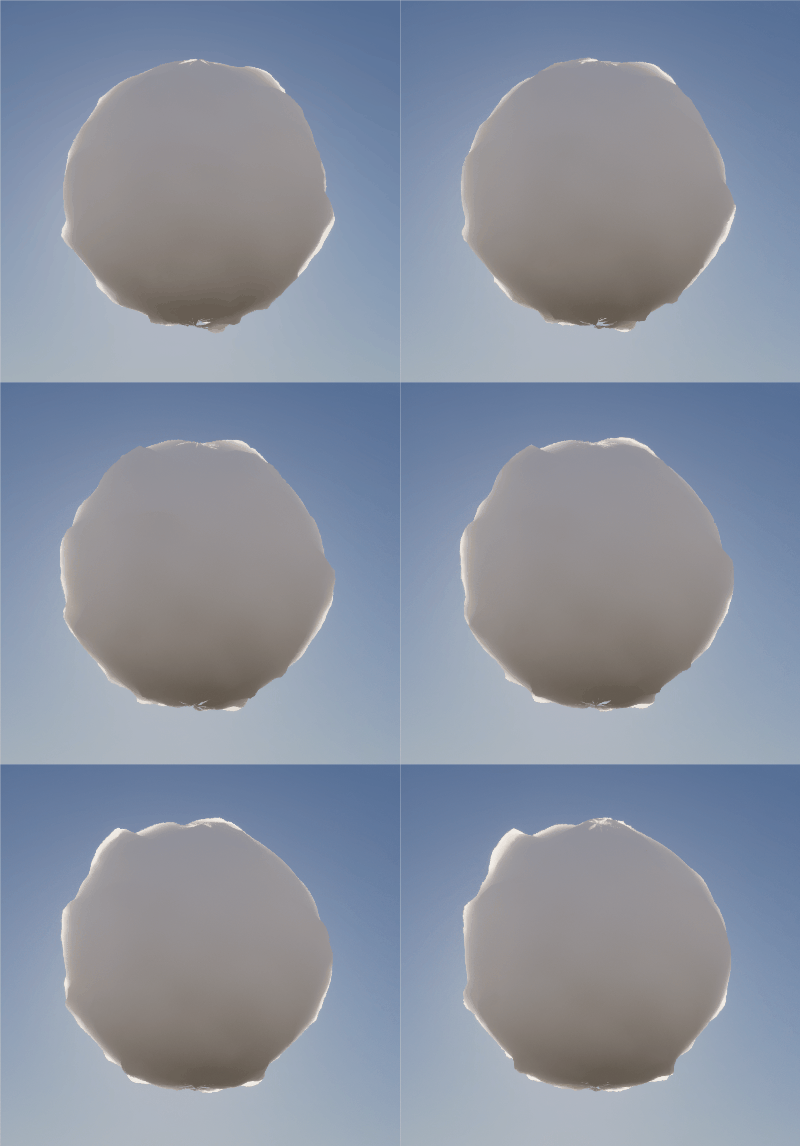
Panners & WPO
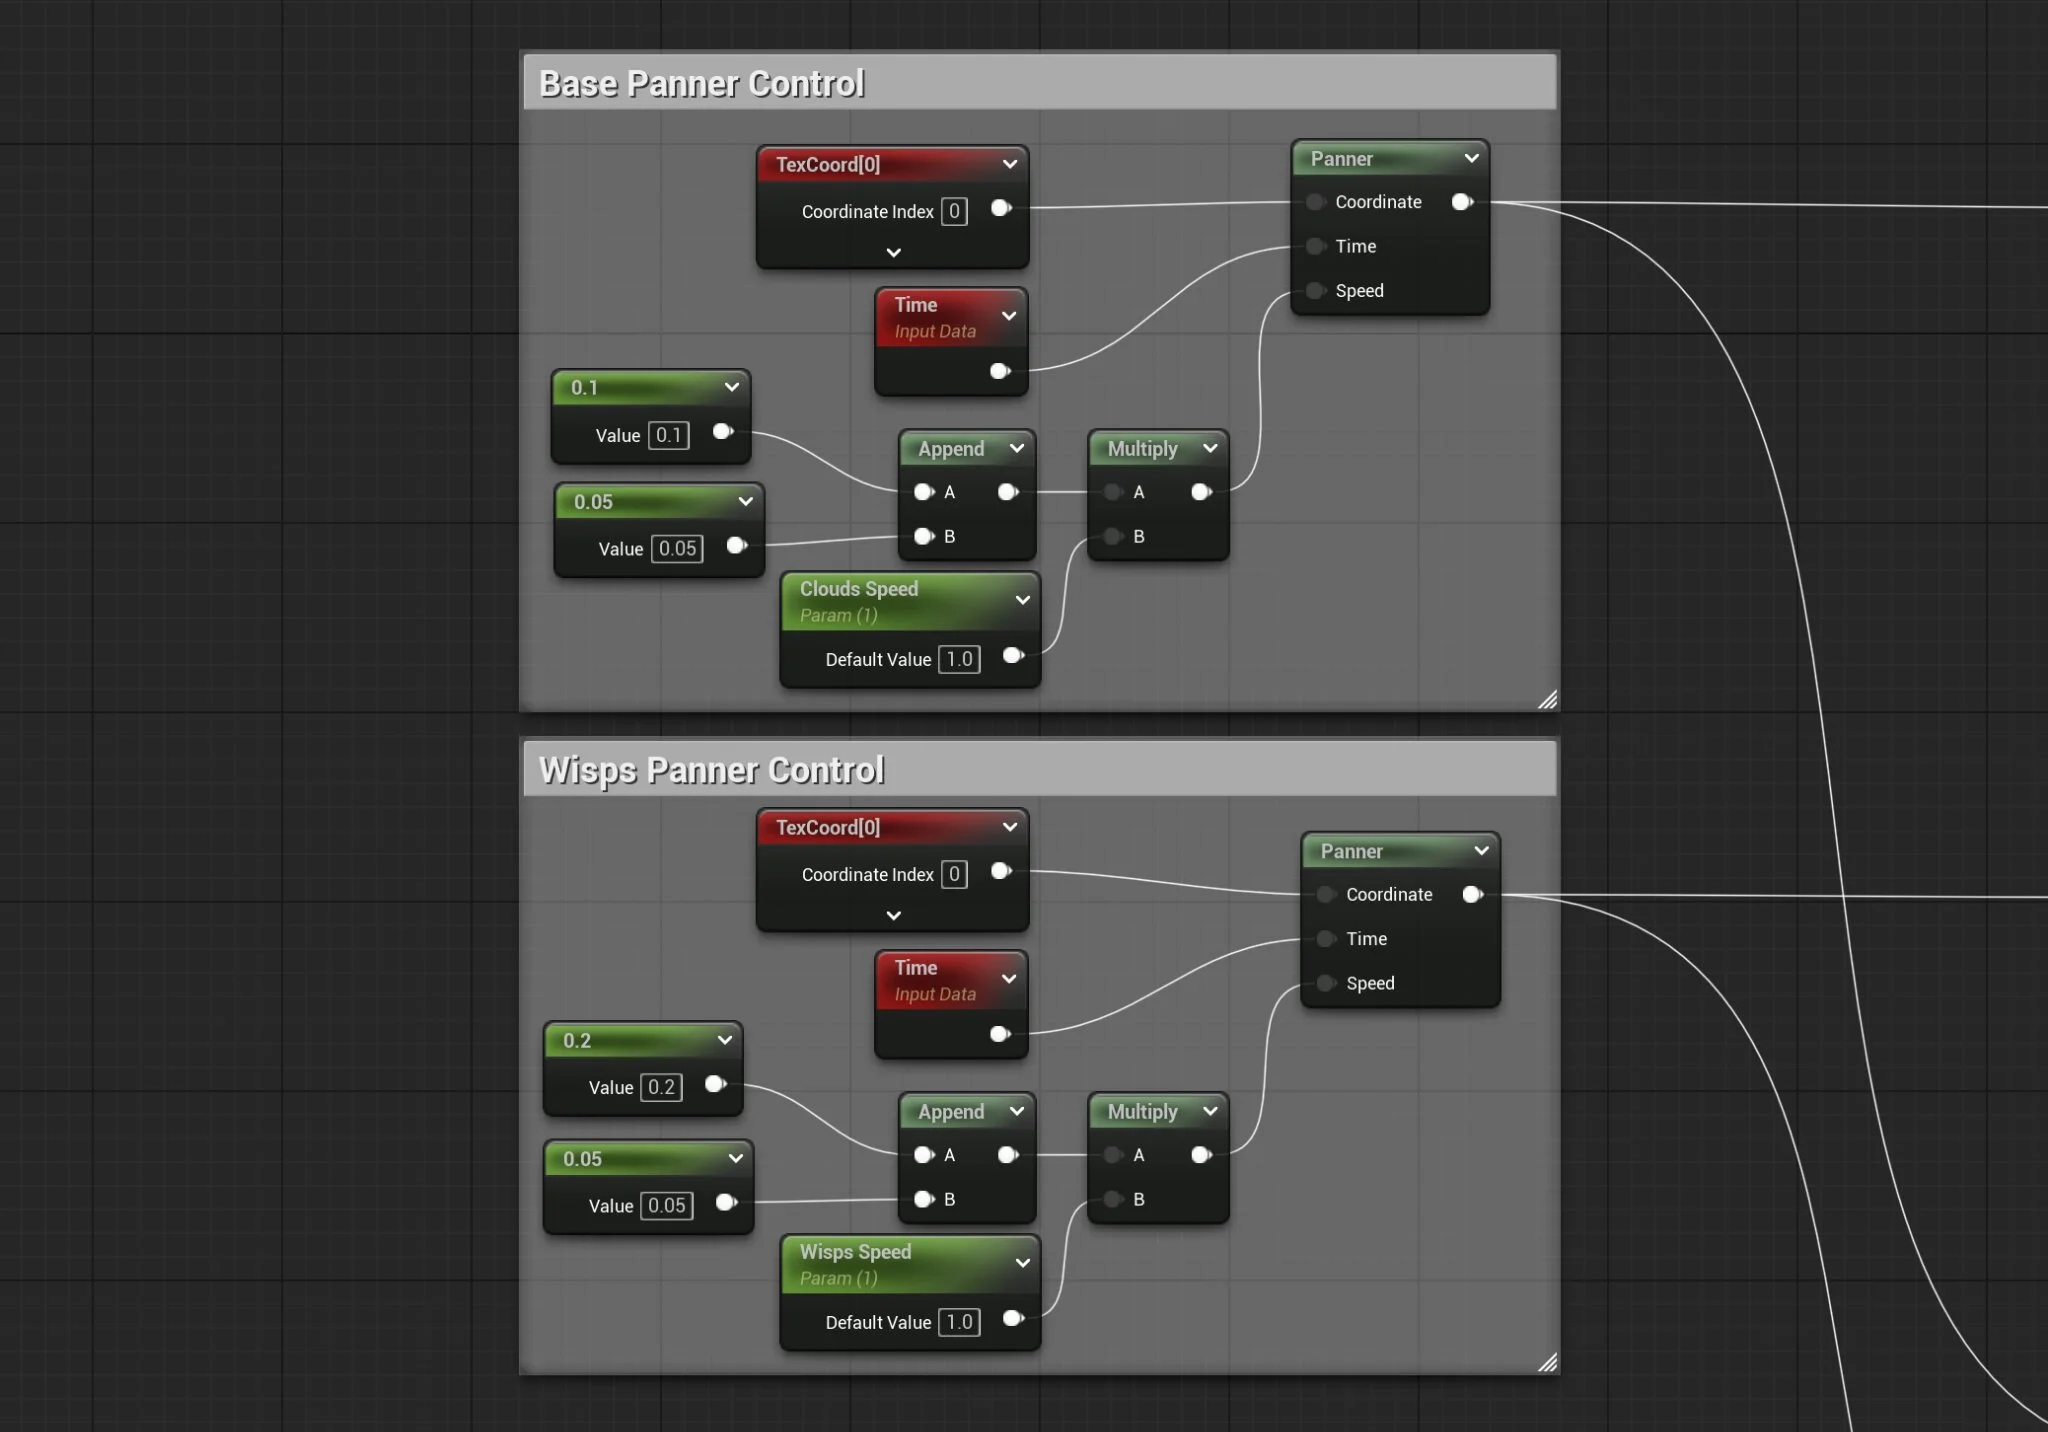
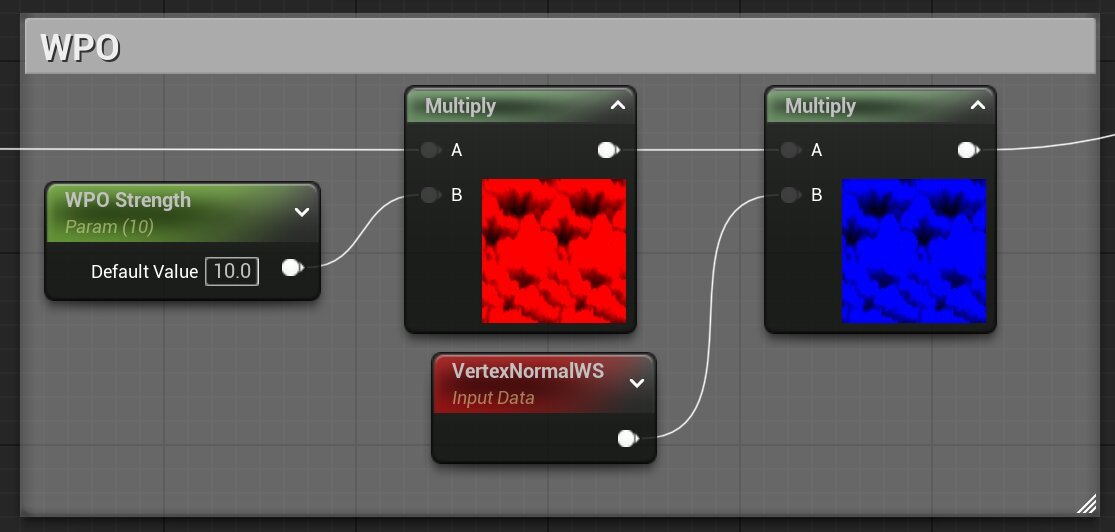
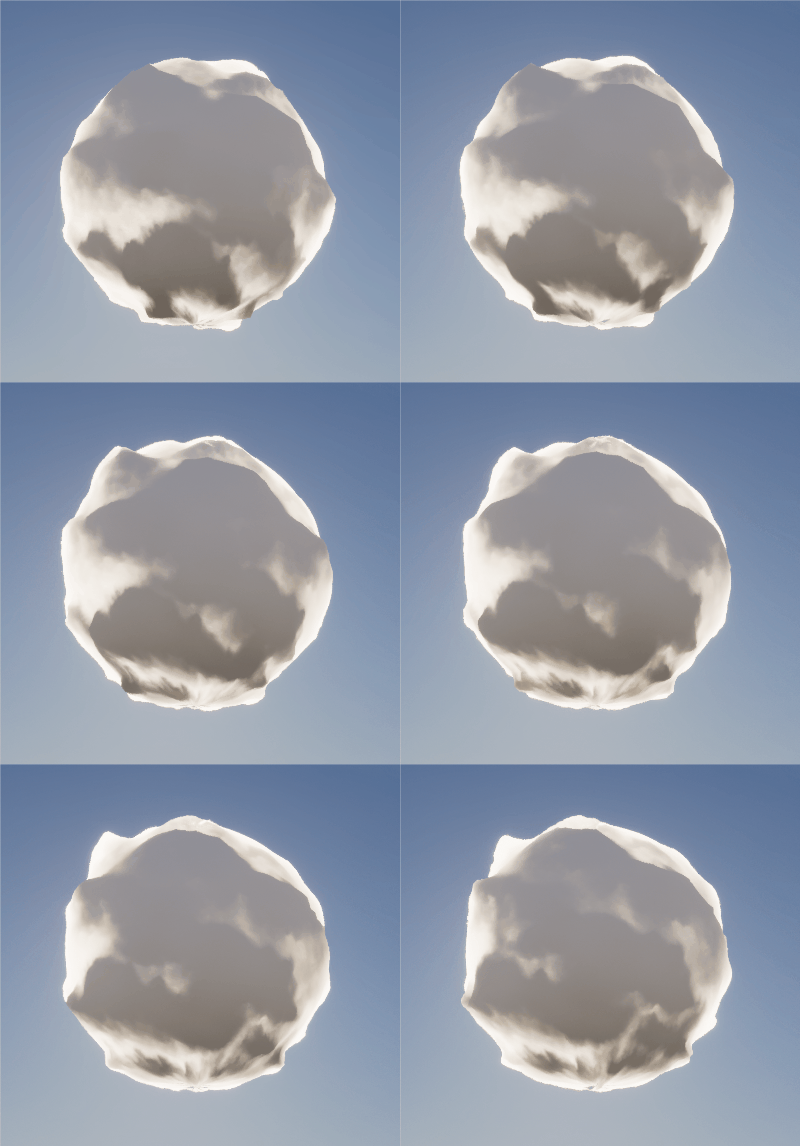
I brought the textures into Unreal Engine, where I first set up the panners for each texture, both at different speeds to create a greater sense of depth. Next, I plugged the base clouds height map into World Position Offset to create surface distortion.
Subsurface
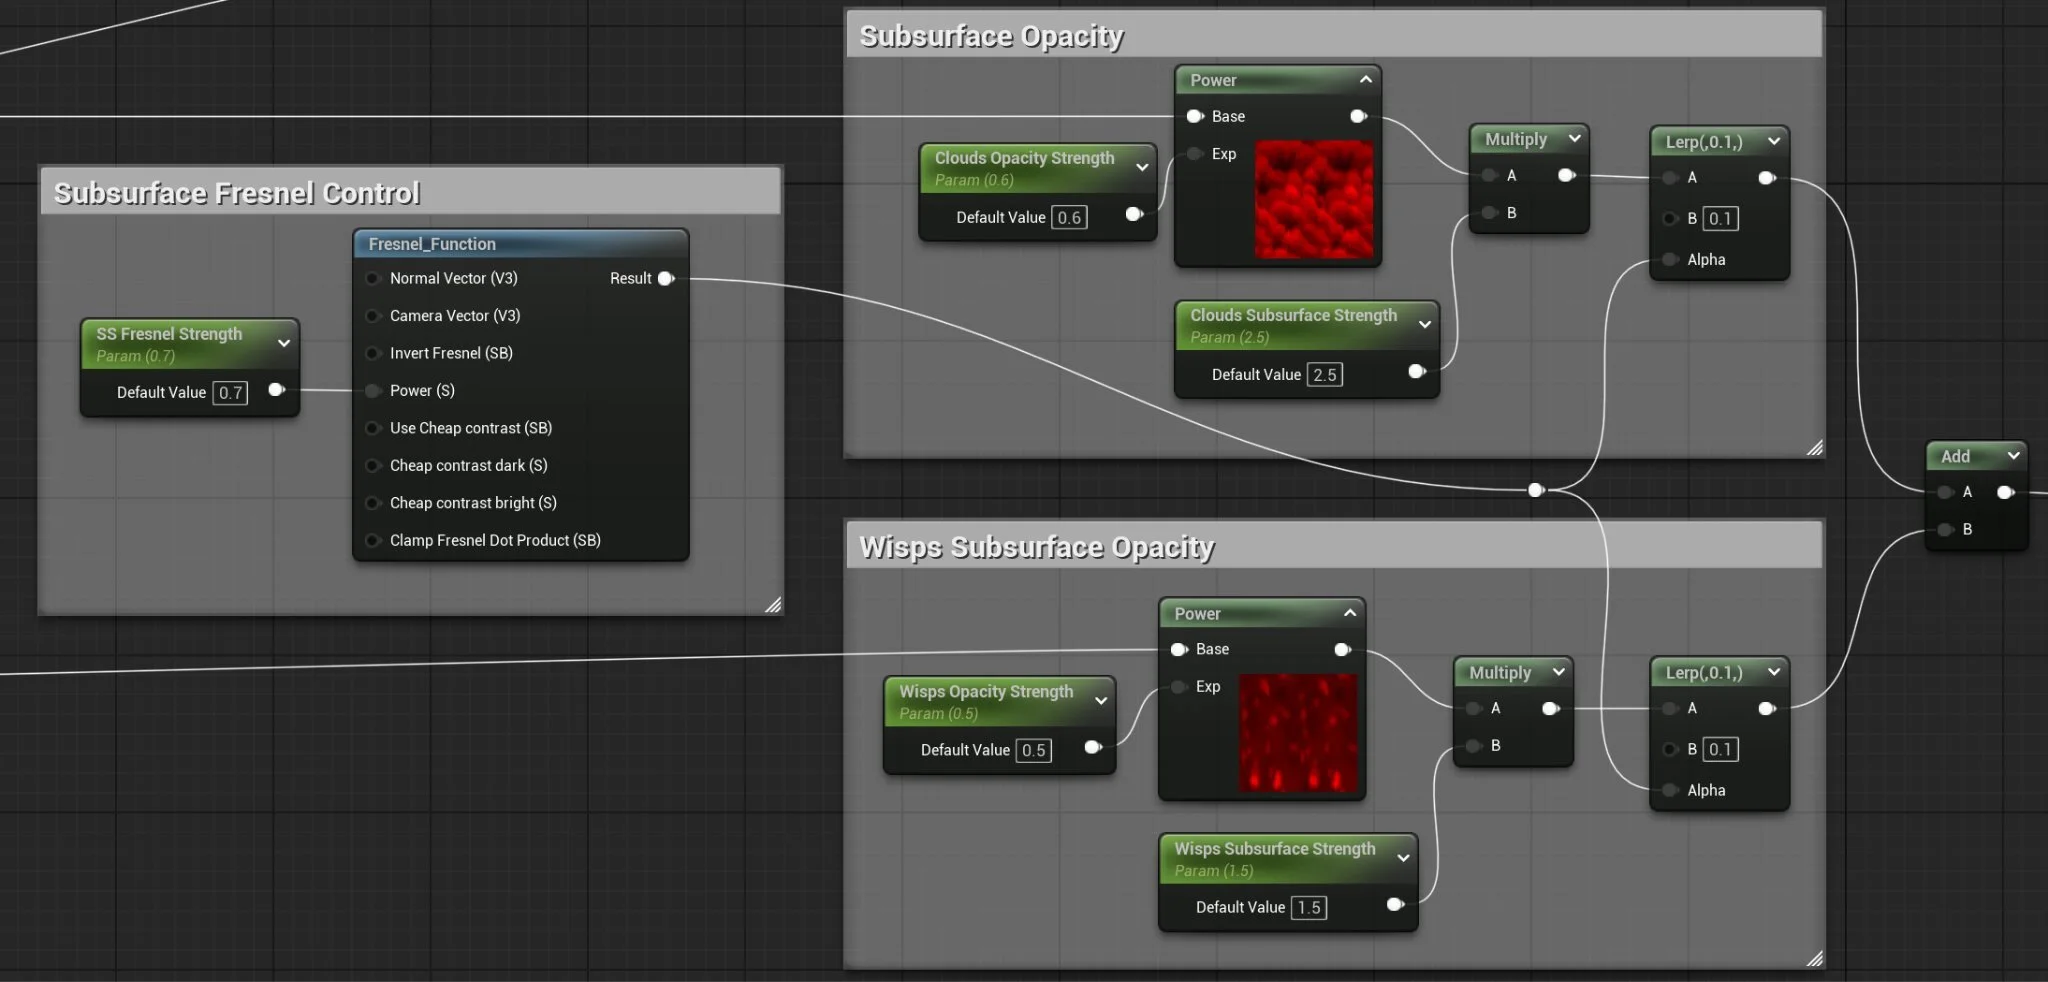
To make the material more realistic, I turned subsurface on to imitate the way light passes through clouds in real life. I utilized the clouds and wisps height maps as opacity masks for this step, only allowing light to pass through certain areas. I also used the Fresnel Function node to ensure that the edges of the mesh are glowing as well.
Other Details
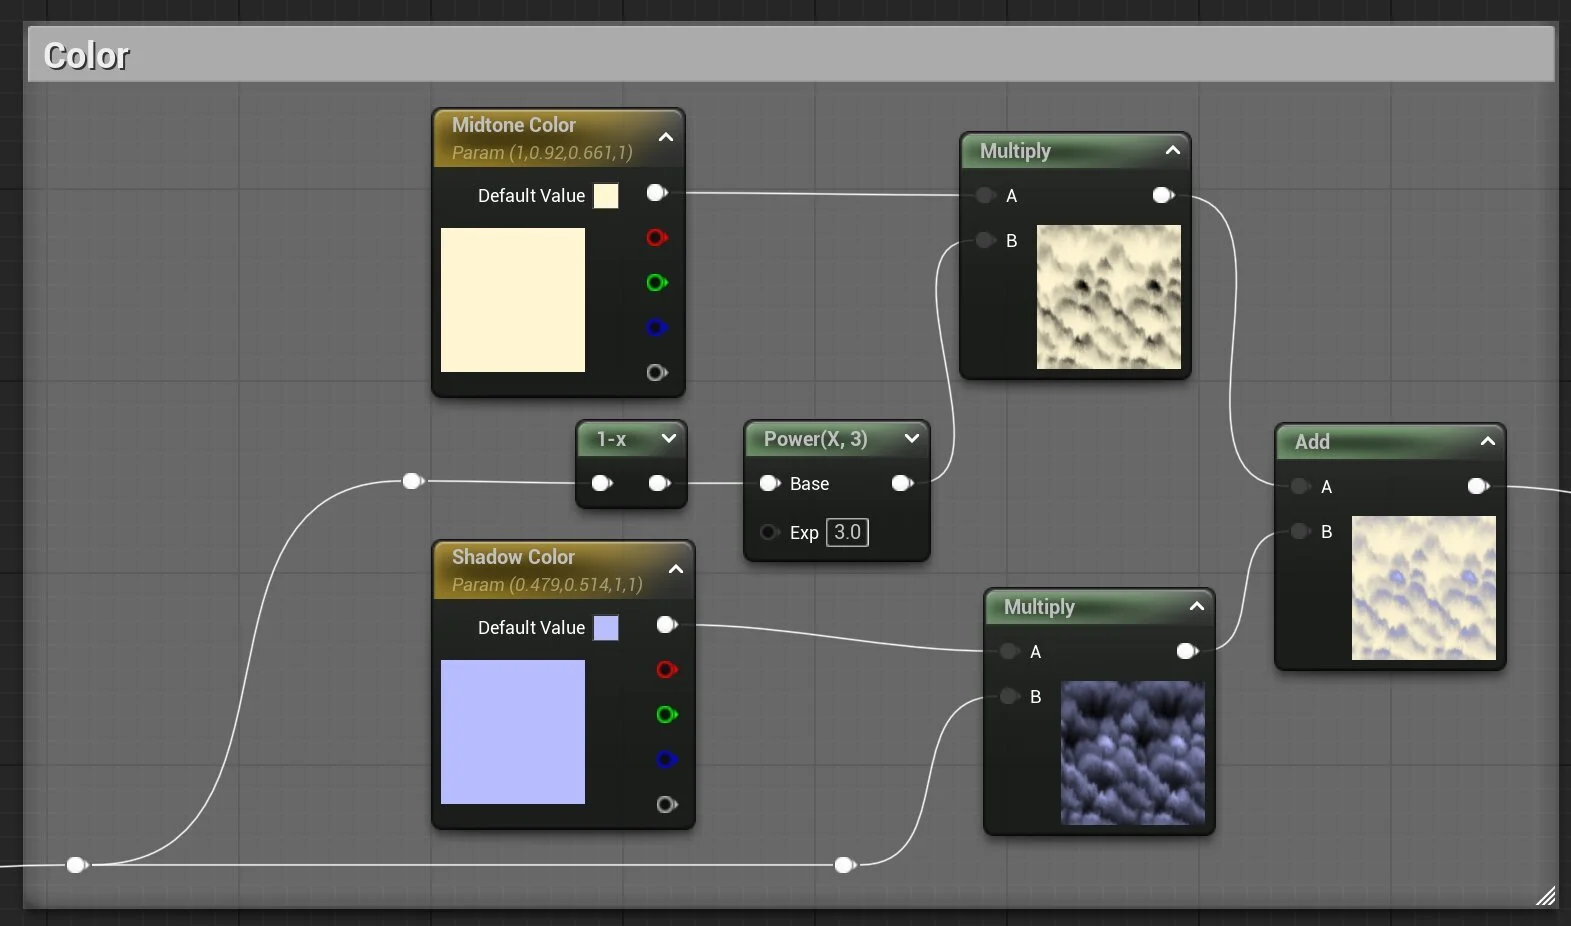
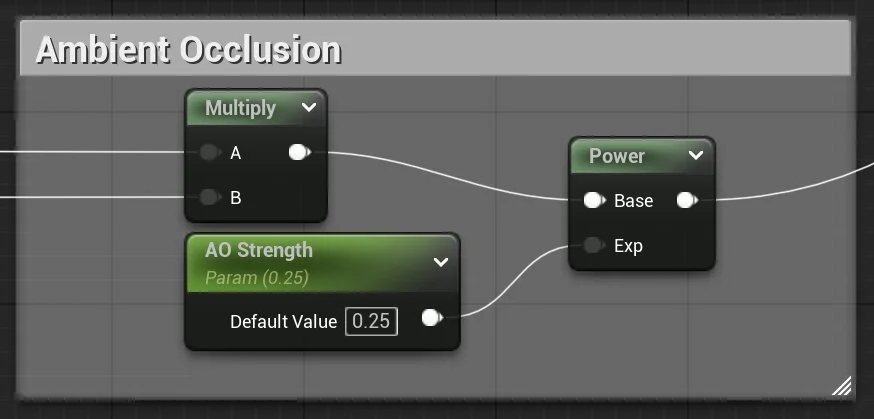
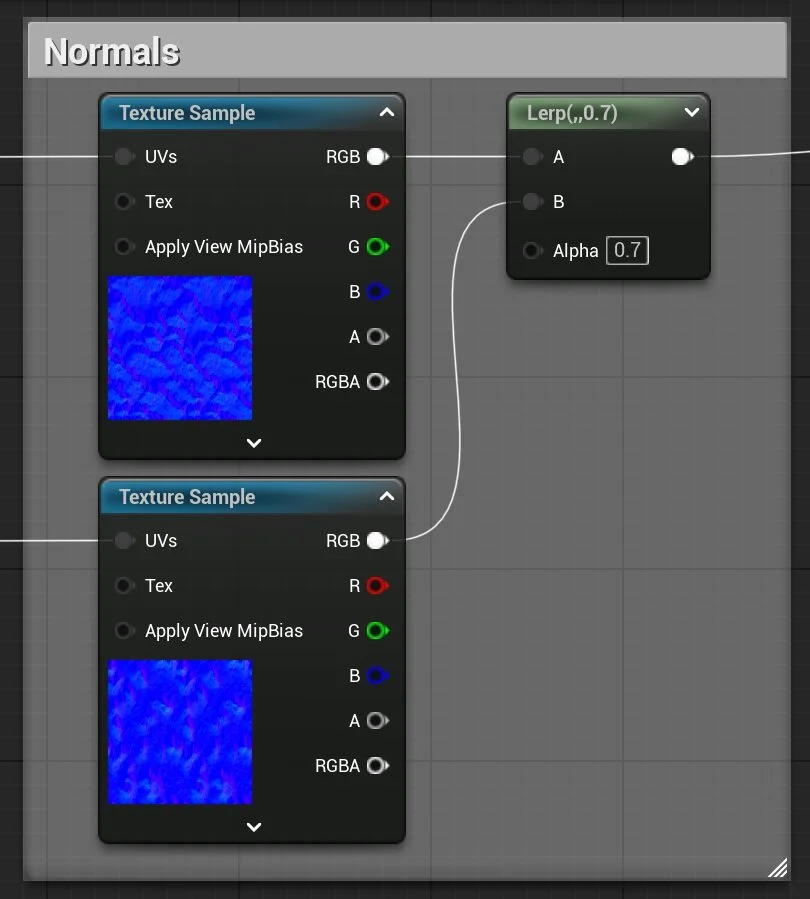
Instead of using a texture sample for the color, I reused the clouds mask to separate the shadow areas from the midtones and highlights, and assigned customizable colors to each. Finally, I hooked up the normals and ambient occlusion maps to their respective outputs.
Material Graph Overview